
FAQ: How much should I tilt my paper?
When you’re learning calligraphy, there’s a whole lot to remember. Where to grip the pen, when to add pressure, how to move and what angle to meet the paper, just to name a few. One thing that often gets forgotten is the tilt of the paper.
Getting the right tilt to your paper can mean the difference between pretty, flowing letters and awkward, shaky letters.
So… how much should you tilt your paper?
Well, it depends. Helpful, right? :) Keep reading — I promise we’re getting to the good stuff.
How much you tilt your paper while you script depends on two factors: 1) where you naturally hold your hand and 2) how much slant you want to your letters. Here’s how to figure out what works best for you.
Step 1: Position your hand in a natural writing position. Gripping your pen, place your hand on your paper. Don’t worry about where it is in relation to the paper — just rest it in a comfortable position. Make sure your wrist is relatively straight (i.e. don’t curl your hand forward or back — just let it sit naturally).

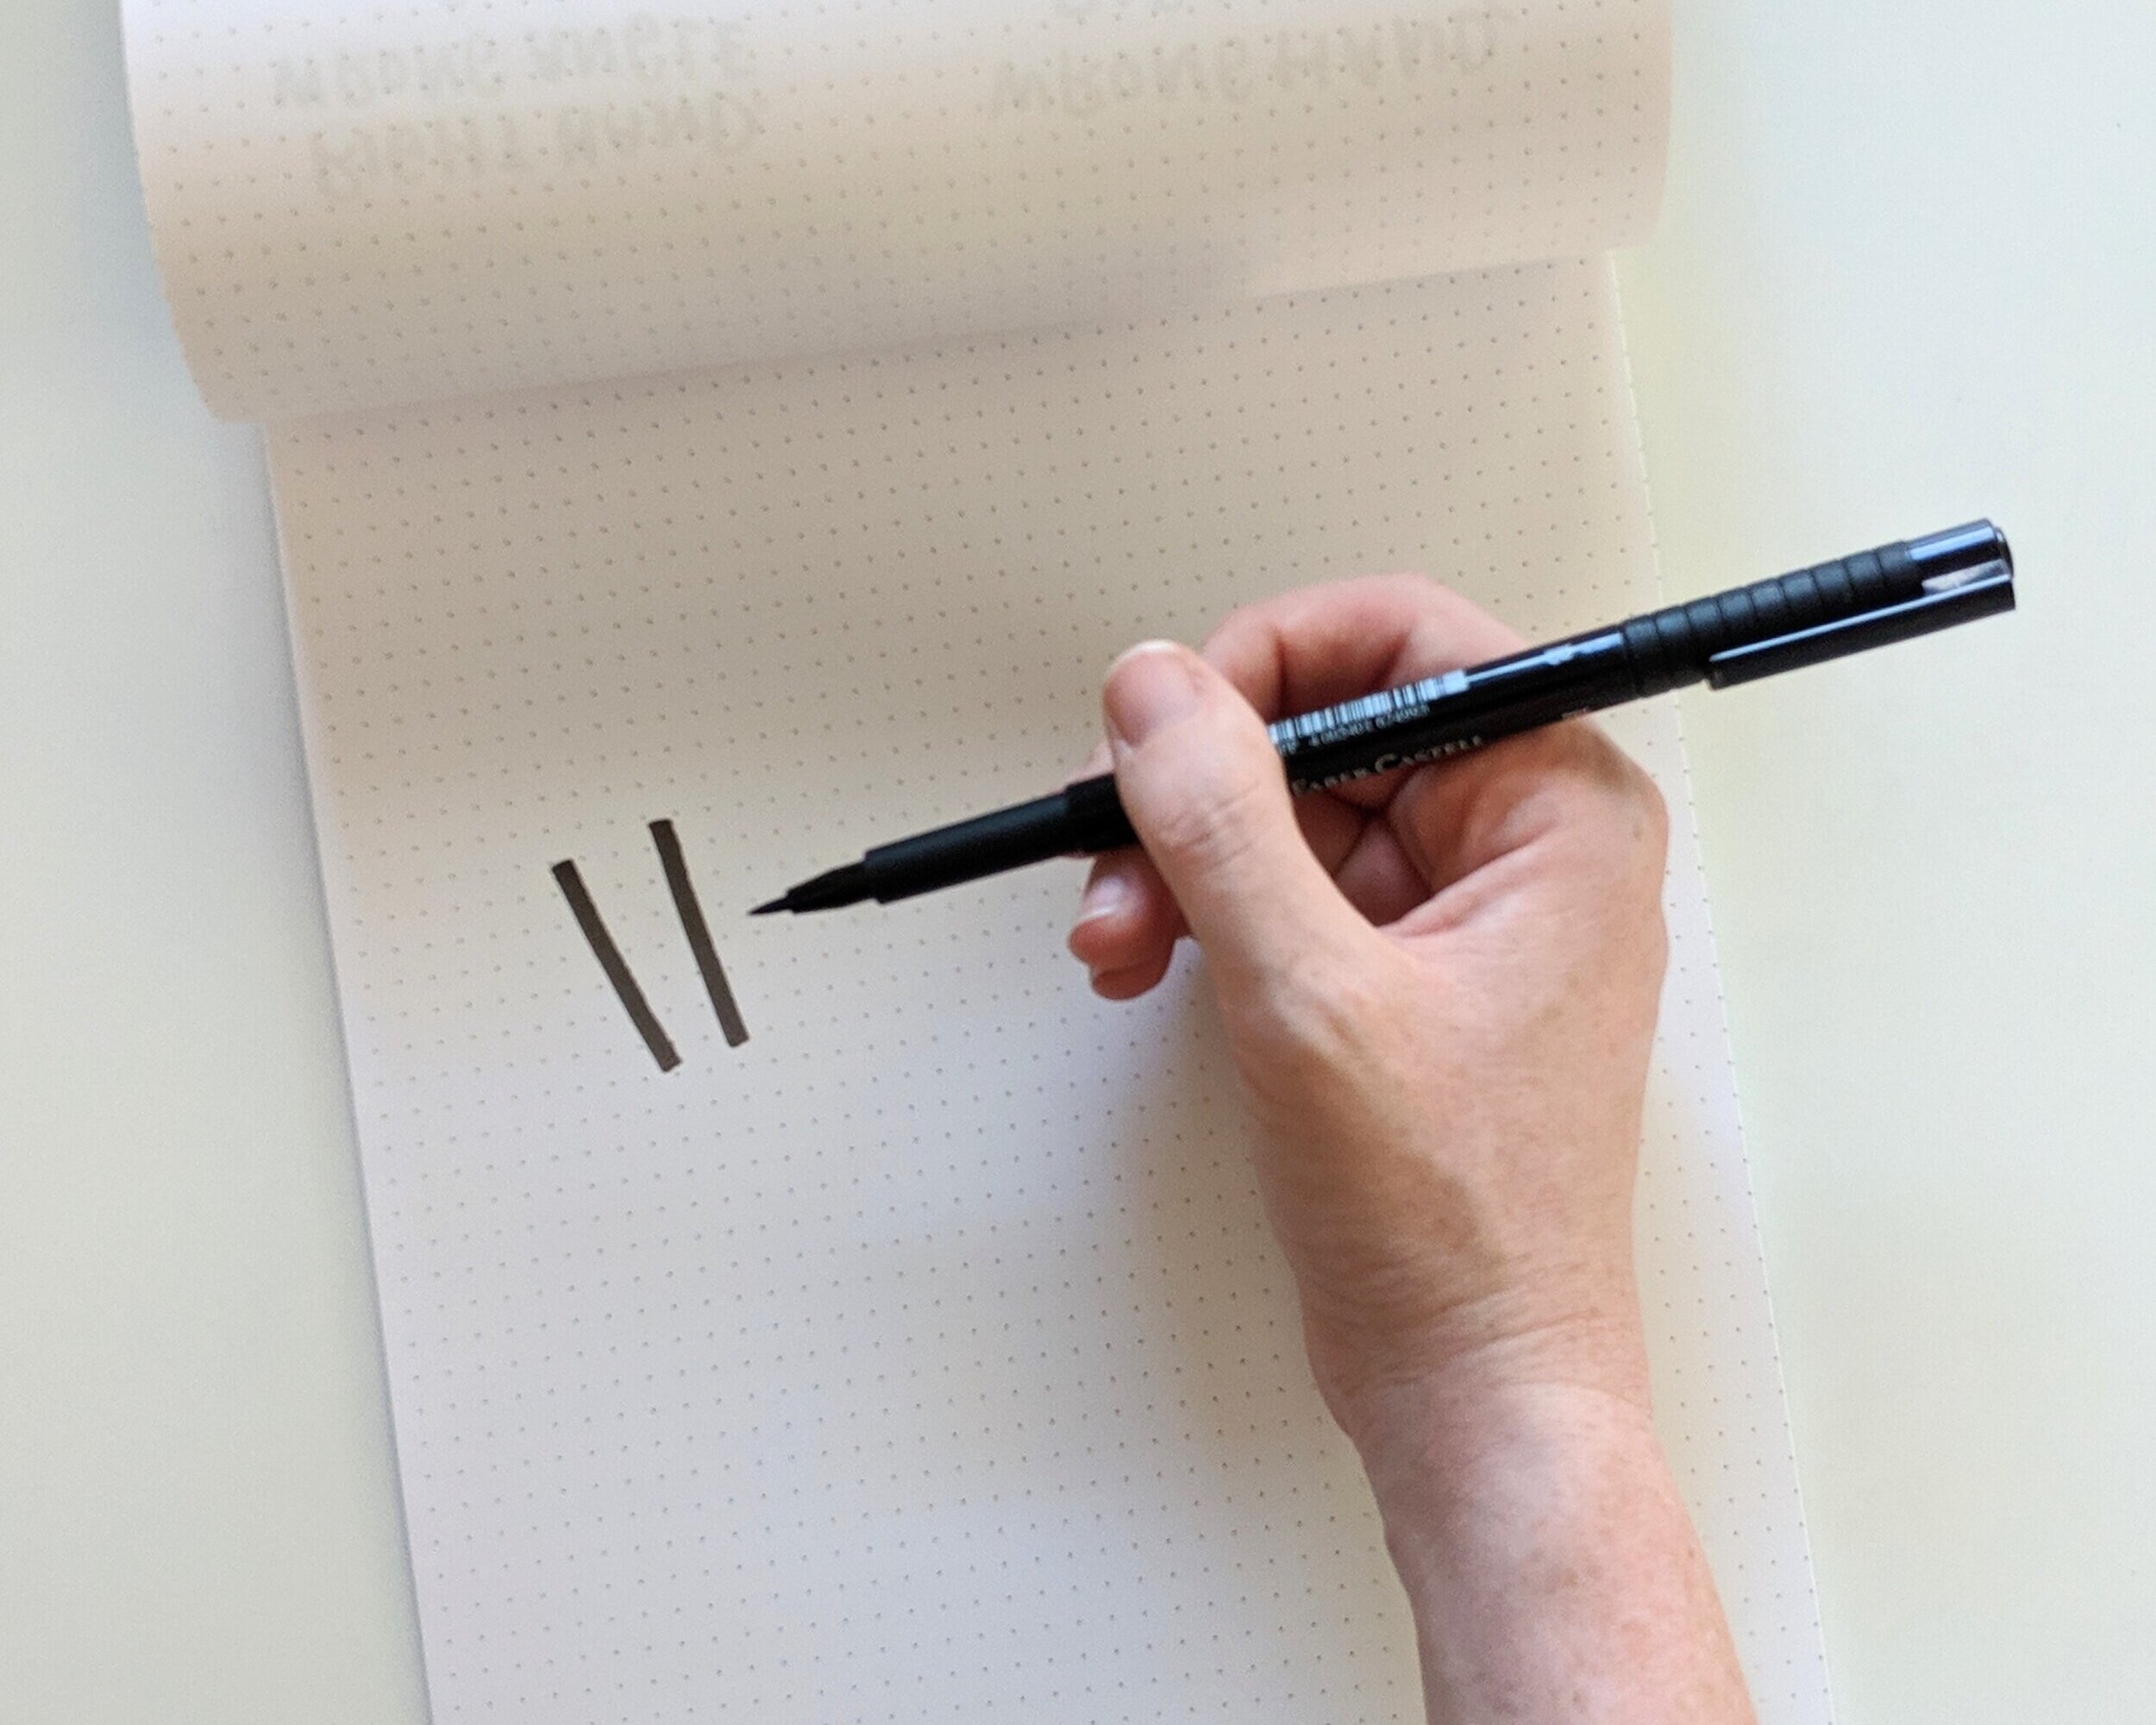
Step 2: Make a downstroke. Without adjusting the position of your hand, make a downstroke. Take a look at the angle. If your paper was straight up and down, chances are the angle of your downstroke will be all wrong. It will likely be slanting to the left instead of the right, like mine is in the image below.

Step 3: Tilt your paper just slightly counterclockwise, and make a second downstroke. For your next stroke, don’t change the position of your hand — that is, don’t try to correct your angle by putting a bend in your wrist. Instead, tilt the paper slightly counterclockwise and make your downstroke again. You’ll notice that the slant of your downstroke has started to shift toward the right.
Step 4: Repeat tilt/stroke pattern until you find ideal slant. Continue to slightly tilt your paper and make a downstroke with each turn. Keep going until the downstroke is at the angle you would like for your letters, and take note of the angle of your paper. This is your ideal tilt!
This process is the same for both righties and lefties — although lefties, you may find you need to tilt your paper a bit more dramatically.
Not sure if you have the proper angle? Here are a few signs something may not be quite right:
You have a significant bend in your wrist as you script.
You are running into your body with your elbow — a sign you are contorting your arm in an unnatural position.
You aren’t getting the slant you want on your letters.
If you’re experiencing any of these, give this exercise a try — it just may be the “aha!” moment you need to take your calligraphy to the next level.
Have a question you’d like answered on the blog? Leave it in the comments below!